First, choose your starting point
EventSync can be as simple or as detailed as your wedding requires. Timeline and checklist are the core. Add other planning tools, vendors, or helpers only when they are useful to your event.
Six steps from plan to handoff
- Open Workspace and select the correct wedding.
Use EventSync Workspace for the preparation work. Confirm the wedding name and date before adding information.
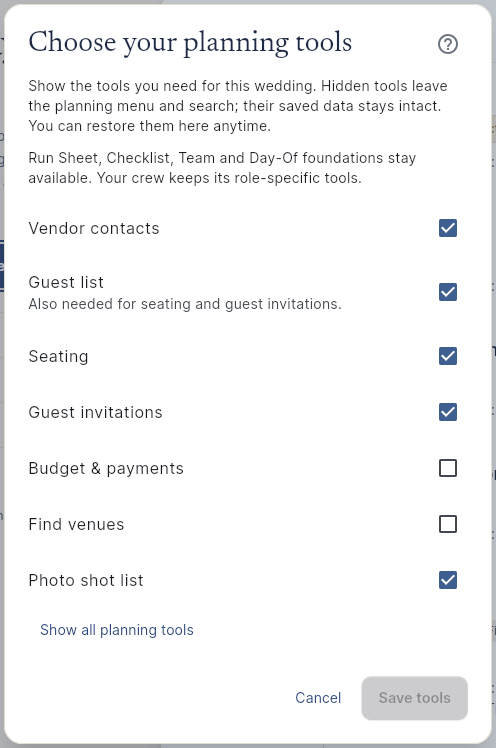
- Keep the Workspace focused.
Start with Timeline and Checklist. Use Guest List, Seating, Budget, or other planning areas only if they are part of your process.
- Bring in the timeline you already use.
Build the run-of-show directly, paste timeline text, or upload a PDF or spreadsheet saved as CSV. For Timeline Genius, download a PDF first. Review every imported block before relying on it for the wedding day.
- Add the people who need the plan.
Invite your coordinator, trusted lead, photographer, caterer, DJ, venue contact, or other helper under the role that best matches their work.
- Preview the handoff.
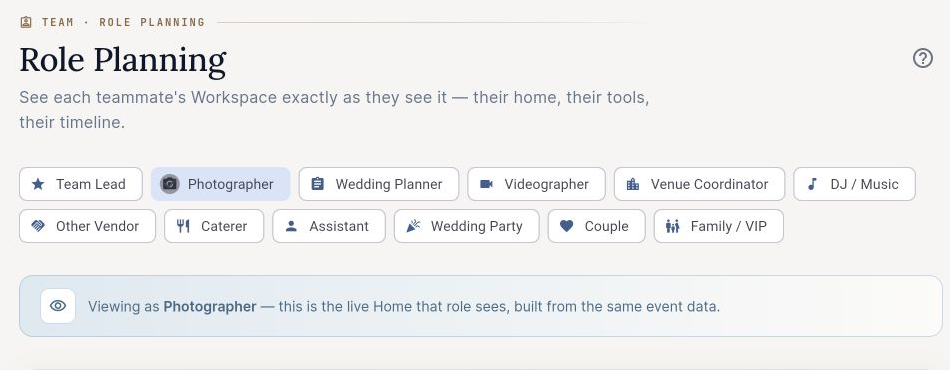
Check names, assignments, times, instructions, contacts, and what each role will see. Keep decision authority clear.
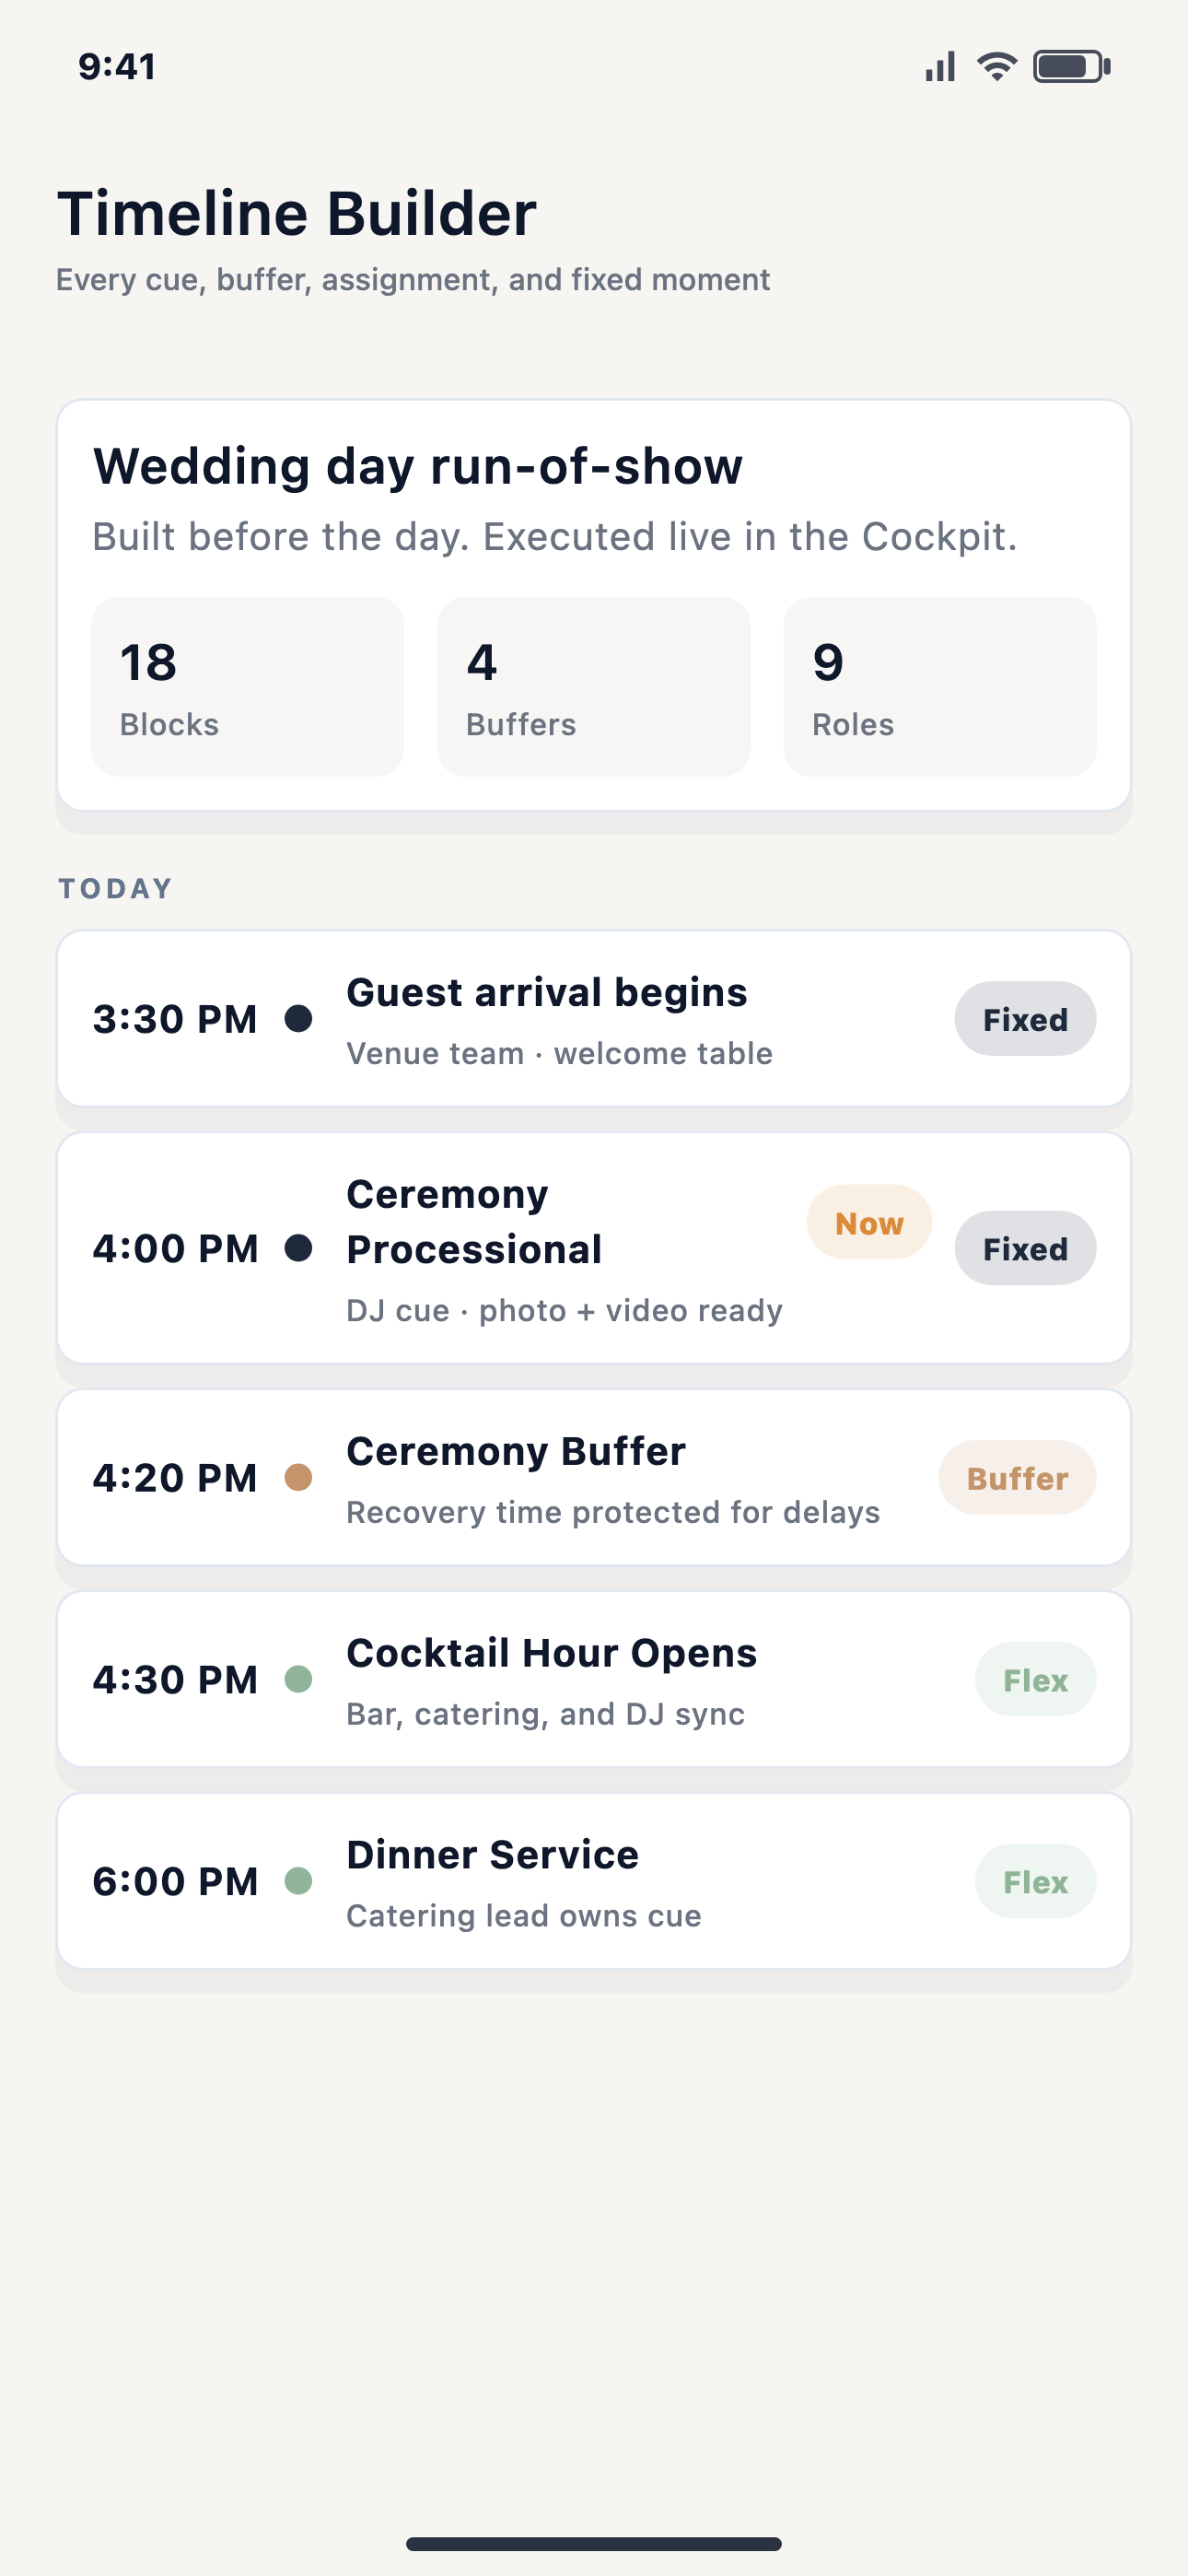
- Open the same wedding in the mobile app.
When the plan is ready, use EventSync Day-Of on mobile for the live wedding-day view. Keep a final exported run sheet as a practical backup.
Bring your existing work with you
If your wedding is already planned in a spreadsheet, document, Timeline Genius, another planning tool, or a set of notes, do not recreate every planning decision. Start with the information that people will need to execute the day:
- Wedding-day timeline, locations, and transition time.
- Vendor names, arrival windows, and contact information.
- Ceremony, reception, and announcement cues.
- Assigned owners for setup, family photos, payments, gifts, and close-out.
- Backup plans and the person authorized to approve a change.
Paste or import the timeline first, then compare it with the original. Confirm that fixed moments, buffers, locations, role assignments, and instructions still mean what you intended.
How to import an existing wedding timeline
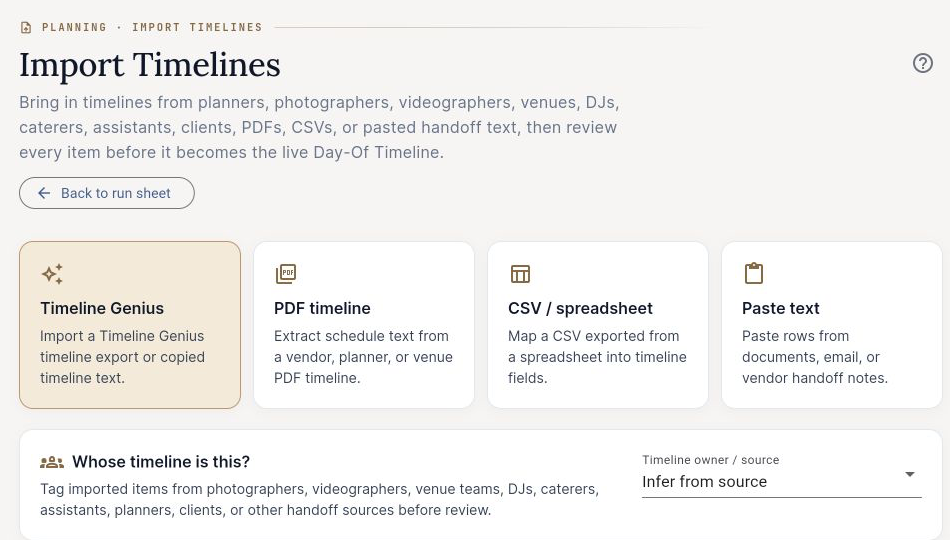
- Open the right wedding. Check its date, then choose Import Timelines in Workspace.
- Choose a source. Use PDF timeline for a document with selectable text, CSV / spreadsheet for a spreadsheet saved as CSV, or Paste text for copied schedule text.
- Review the detected items. Check each title, start and end time, location, role or vendor, notes, and category. Uncheck document headings or page numbers that do not belong in the schedule, and remove footers from notes.
- Choose what to keep. Use Add to existing when the current timeline should stay. Review duplicate flags; use Replace existing only when replacing the current timeline is your intention.
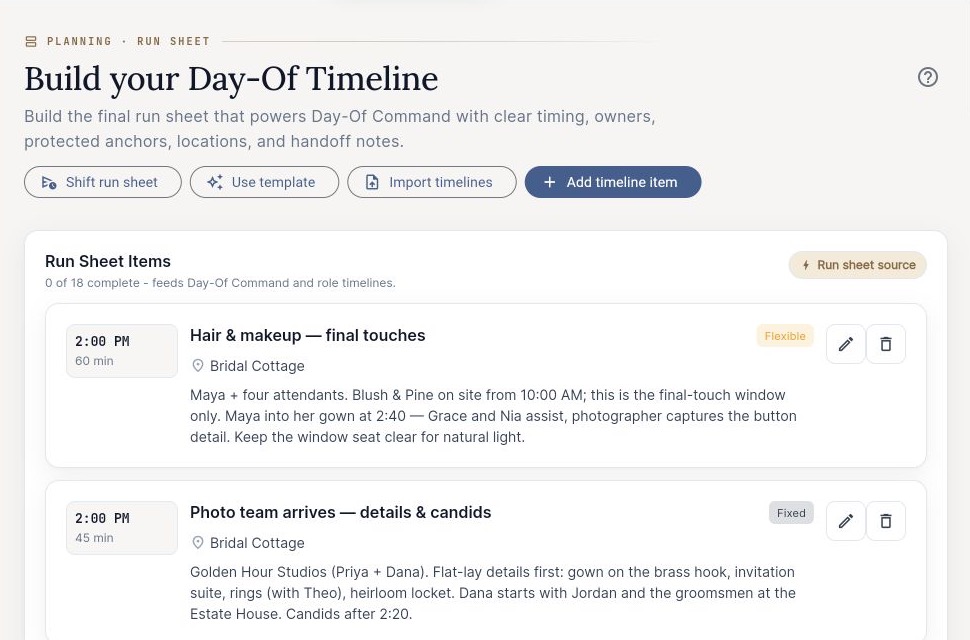
- Save, then check the run sheet. Choose Save to Day-Of Timeline after your review, then open the run sheet and compare the saved moments with the source.
A scanned image may not contain readable text. If the PDF cannot be read, copy its selectable timeline text or use a CSV instead. Formatting varies, and inferred fields still need your review.
Moving from Timeline Genius? Download your timeline as a PDF using its Timeline Actions menu, or copy the timeline text. EventSync reviews the file you provide; it does not connect directly to your Timeline Genius account. See the Timeline Genius import and comparison details.
Watch: Import a Wedding Timeline PDF into EventSync Workspace
2:13 · Actual interface · Fictional training wedding · AI-narrated with reviewed English captions.
Watch this tutorial on YouTube
Read the walkthrough transcript
Already have a wedding timeline? Open the right wedding in EventSync Workspace, then choose Import Timelines. You can start with a PDF, a spreadsheet saved as CSV, or pasted timeline text. This lesson uses a fictional PDF made by EventSync.
Choose PDF timeline and upload the file. If you are moving a plan from Timeline Genius, first download its PDF from Timeline Actions. There is no direct account connection. The file opens as a draft for review; nothing has been added to your timeline yet.
Check every selected row. A heading, page number, or other extra text can be detected as an item. In this sample, we leave out the page-number row and keep the five real activities. Check their titles, dates, times, locations, and who is responsible.
Review each item type, too. Fixed moments need a set time. Compressible items allow some flexibility, and buffers leave breathing room between activities. Here, the portraits block is Compressible, and the walk to the reception is a Buffer. Confirm these choices with whoever is leading your day.
Read the notes as well. This PDF footer was included in the last activity, so we remove it and keep the useful dinner-service note. If you see Add to existing or Replace options, check which you intend before saving. When the full review is ready, choose Save to Day-Of Timeline.
Open Run Sheet and check the saved result. Our five activities are here with their times, locations, responsibilities, and cleaned notes. Use Edit for any final corrections. The import gives you a starting point; the person leading your wedding day should confirm the final plan.
If a PDF does not read cleanly, try copying its selectable text or use a spreadsheet saved as CSV. Those options are also in Import Timelines. Formatting varies between documents, so review every import before saving. The linked guide covers the steps and the alternatives.
Started with the free EventSync timeline builder?
Choose Continue this plan in EventSync in the free wedding timeline builder. Keep the builder tab open while Workspace opens, sign in if needed, and choose or create the wedding. Review the draft before importing it. If the browser transfer is unavailable, use Download CSV and the import steps above.
After importing, choose the tools you need in Scope and open the question-mark Help whenever you need a short lesson. The Workspace timeline guide explains how to carry the draft forward and keep editing.
What each person needs
Not everyone needs the entire planning workspace. Assign the closest role and give each person the schedule, instructions, and event information needed for their responsibility. Availability depends on the information entered for the wedding.
| Person or role | Useful handoff information |
|---|---|
| Planner, coordinator, or trusted lead | The full run-of-show, assignments, contacts, instructions, and decision authority. |
| Photographer | Relevant timeline moments and prepared family-formal groupings, including who is ready for each grouping. |
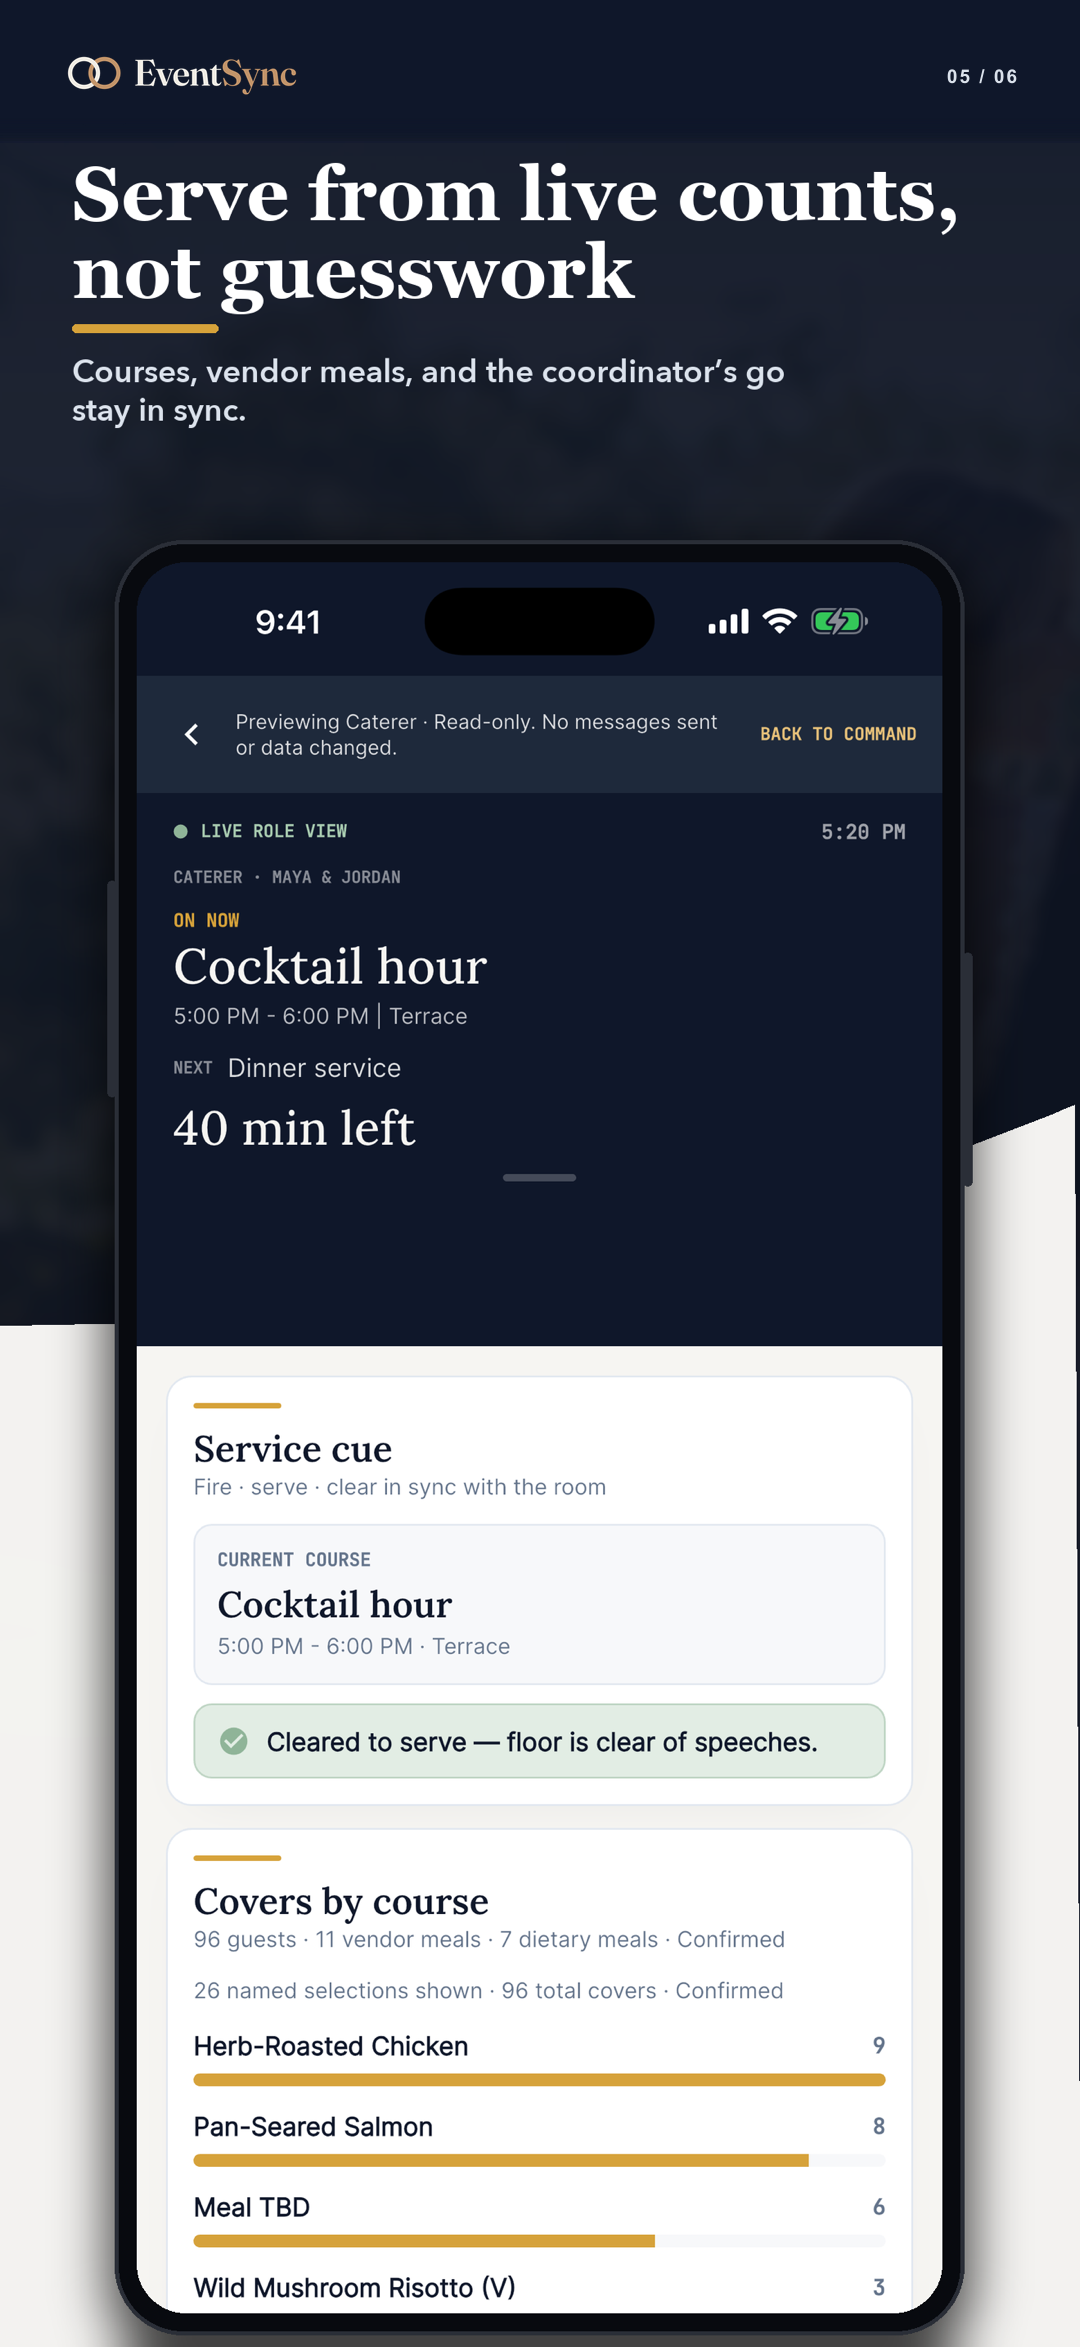
| Caterer | Service timing and, when entered in the guest list, meal totals and dietary or allergy information. |
| DJ or MC | Assigned timeline moments and written cue or announcement instructions. |
| Videographer | Assigned schedule moments and coverage information prepared for the day. |
| Venue or other vendor | The blocks, timing, location, and instructions relevant to that person's work. |
| Wedding party, family, or helper | A focused view of the schedule and responsibilities that apply to them. |
Before sending an invite, preview the role. If important information is missing, add it to the source timeline or instructions rather than expecting the recipient to guess.
Your access path
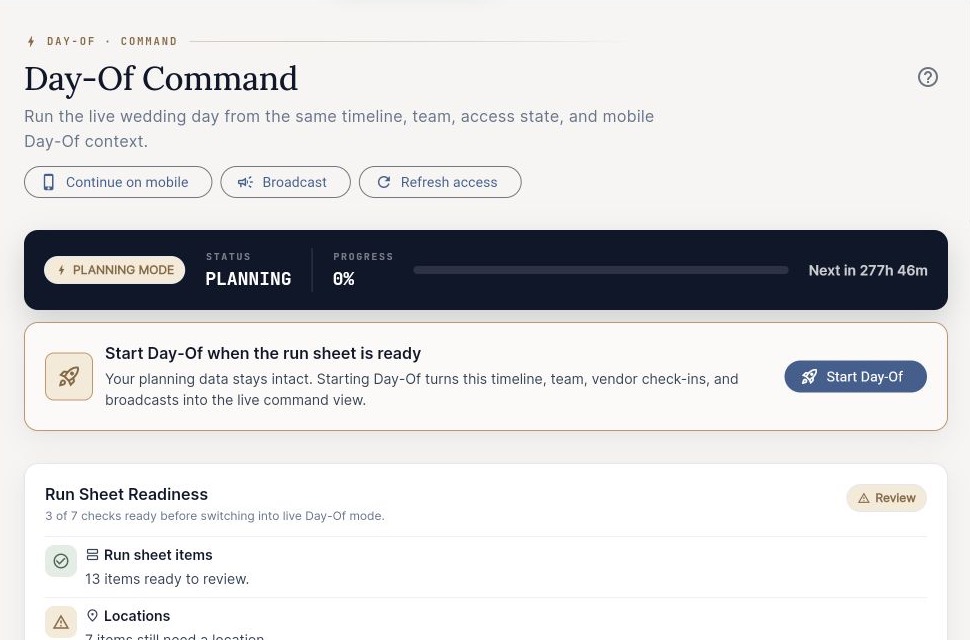
Prepare one wedding for Day-Of Command
Open the wedding in Workspace, finish the timeline and checklist, add the people needed for the day, and preview their roles. Then open that wedding in the EventSync Day-Of mobile app.
Build the same clear handoff, then keep a human in control
Complete the normal Workspace setup first. The Wedding Day Assistant can offer guidance during the wedding-day workflow, but its recommendations are advisory. An authorized person should review and explicitly approve any timeline change.
Use EventSync as the day-of layer around your existing process
Keep using the planning, CRM, and document tools that already work for your business. For each EventSync wedding, bring in the approved run sheet, review roles and assignments, invite the working team, and confirm the mobile handoff before the event.
Use only what your wedding needs
Your setup can be small: one timeline, one checklist, the relevant vendors, and a trusted person who understands the handoff. You do not have to use Budget, Seating, or the full Guest List to prepare the Day-Of workflow. Add a photographer, caterer, DJ, venue contact, or helper only when sharing information with that person will make the day clearer.
Ask one person who did not build the timeline to read it. If they cannot tell what happens next, where it happens, and who owns the cue, add that information before the wedding day.
Need help with your setup?
Email support@geteventsync.app. Include the kind of access you have and the step where you became stuck. Do not email guest lists, private wedding links, access codes, or other sensitive wedding information.
Open EventSync Workspace, select the correct wedding, and begin with the timeline.
Open EventSync Workspace